Image Production · Grids
Grid ratio and grid cutoff: cleanup, dose & alignment errors
A grid cleans scatter to improve contrast, but it also absorbs some primary beam—so technique (and patient dose) must rise. Grid ratio sets how selective the channels are. Misalignment produces grid cutoff. This diagram shows both the trade and the failure modes.
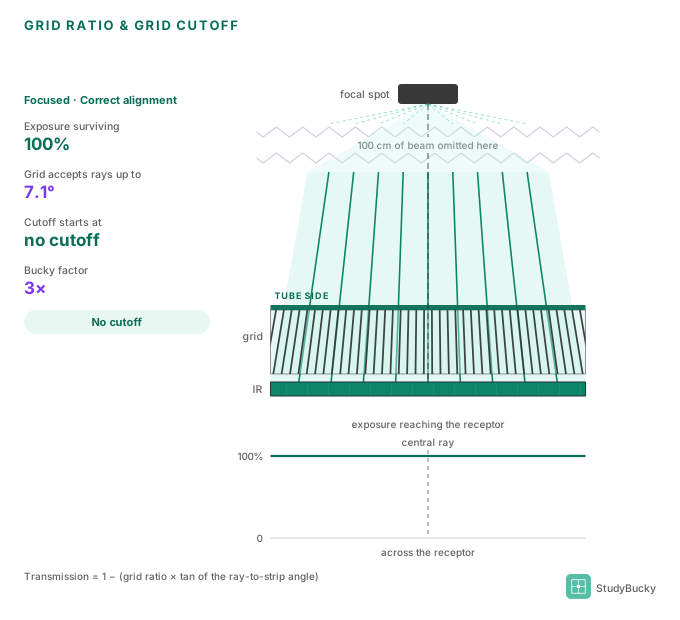
Grid ratio
Grid ratio = strip height ÷ interspace width
Higher ratio → narrower acceptance angle → better scatter cleanup and less tolerance for positioning error.
Bucky factor / dose trade
Because the grid removes scatter and some primary, mAs must increase to keep receptor exposure. That multiplier (Bucky factor / GCF) is also how much patient dose rises. Higher ratio and higher kVp generally mean a larger factor.
Grid cutoff (break it on purpose)
Focused grids show little cutoff when level, centered, right-side up, and used at focal distance. Classic errors: off-level, off-center, off-focus (wrong SID), upside-down—each fails differently. Learn the pattern, not just the name.
Frequently asked questions
What is grid ratio in radiography?
The height of the lead strips divided by the width of the interspace. Higher ratios clean scatter more aggressively and demand more precise alignment.
Why does using a grid increase patient dose?
The grid absorbs scatter and some primary radiation, so mAs must increase to maintain receptor exposure. That mAs increase is what raises dose.
What causes grid cutoff?
Misalignment of a focused grid—commonly off-level, off-center, off-focus (wrong SID for the grid), or upside-down—so primary rays hit strips instead of interspaces.
Interactive diagram
Free layer covers ratio, Bucky factor, and cutoff types. Unlock full access to scrub alignment errors and linked practice.